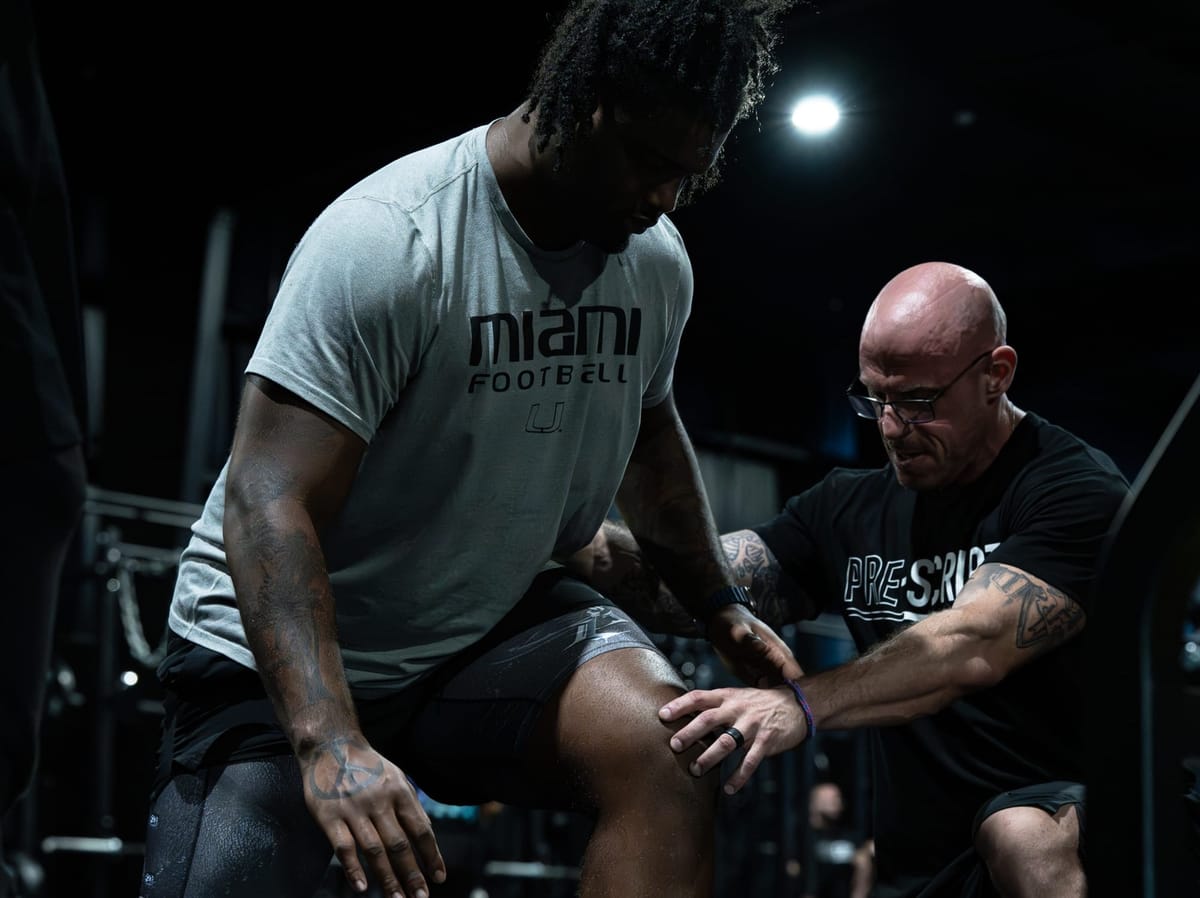
Your hip internal rotation sets the limit for most lower body movements – train accordingly.
Hip internal rotation is one range of motion that almost every client sorely lacks. It can manifest as one or more symptoms: a hip shift on bilateral movements, uneven weight distribution (and the resulting unilateral pain), and even SI joint issues.
Hip internal rotation is a necessary pre-requisite for almost every lower body movement. For example, loading all heads of the quadriceps and properly lengthening the glute can only occur with hip internal rotation.
An axiom of movement is “The task always wins.” If a movement demands hip internal rotation and there isn’t enough to complete the task, the “range” required to complete the task will come from the movements of other joints – likely in an unsafe way.
In practice, this axiom means that if a client lacks the range but performs the movement anyway, over time, a technical debt will accumulate until it reaches a breaking point. The cost is, at best, inefficient movement and wasted efforts with gains on the table. But at worst, it can mean injury and seeing progress abruptly cut off.
Use a divide and conquer strategy.
To restore hip internal rotation, it must first be broken up into smaller components. Then, your client needs to learn the skill of dissociation in movement – being able to perform those smaller tasks independently of one another in order to fight compensation. Three areas to investigate are:
- Foot pressure
- Core position
- Torso movement
Fix your positioning.
Correcting foot pressure, core positioning, and torso movement enables hip internal rotation. When hip internal rotation becomes an issue, these are the first three subcomponents of movement that should be tested and addressed for the highest impact.
${component=BasicCard}Foot Pressure
Foot pressure is the canary down the coal mine for the nervous system – the most peripheral implement used to map the body’s position in space. The more contact a foot has with the ground, the more awareness the brain has of the body’s position.
More awareness of the body in space means smoother movement and less “tightness.” This means less restriction in range of motion and an increased ability to cue the client’s body in the direction you want.
${component=BasicCard}Core Position
A stacked core (ribcage over pelvis) has multiple benefits for hip internal rotation. Firstly, the pelvis can change shape more easily. An unstacked pelvis leads to an externally rotated pelvis, which leads to more externally rotated femurs.
Secondly, a stacked core allows for a more balanced centre of mass. A flared ribcage causes the centre of mass to fall forward, which causes the brain to tighten muscles like the hamstrings and calves to keep the client from falling over. This, in turn, restricts internal rotation.
${component=BasicCard}Torso Movement
Torso movement means being able to perform all movements of the spine, both separately and in unison. On unilateral movements, some degree of lateral flexion to the working side must occur in order to facilitate proper internal rotation.
Additionally, the torso must rotate contralaterally to the working leg in order to make sure a lateral hip shift happens so that the centre of mass can be distributed effectively.
Build internal rotation from the floor up – foot to ribcage to spine.
Addressing hip internal rotation limitations requires targeted interventions that align with the key concepts of foot pressure, core position, and torso movements.
The following steps will provide practical strategies to superimpose tried-and-tested mobility strategies over the specific outcomes needed to restore hip internal rotation.
${component=Step}Balance Foot Pressure to increase proprioceptive input
Maintain even foot pressure and allow your arch to flatten and remain in contact with the ground. Avoid biasing pressure to the front, back, or sides; aim for balanced contact throughout the entire foot.
Cue clients to actively spread their toes and press evenly through all parts of the foot during exercises. Use barefoot drills where possible, and provide tactile cues like a strap under the forefoot to increase pressure where needed.
${component=Step}Stack the core for more stability and better COM control
Stack your rib cage and pelvis on top of one another, avoiding rib flare or thoracic spine hyperextension. Brace your core and maintain this alignment throughout all exercises requiring hip internal rotation.
Cue clients to engage their deep core muscles by drawing the belly button slightly toward the spine. Direct them to inhale without shrugging or flaring their ribs, and have them draw air in by lowering the diaphragm.
${component=Step}Warm up your thoracic spine for lateral flexion and rotation
Prior to a workout requiring hip internal rotation, ensure the warm-up checks the boxes for all types of thoracic mobility. Drills like child’s pose, beast breathing, and an open book stretch are great examples.
Cue slight lateral flexion and contraction of the obliques on the ipsilateral (working) side. Rotate contralaterally to encourage more of a lateral hip shift to keep the centre of mass over the stance leg.